How to Create a Map from Address Data
Want to create a map with multiple addresses plotted as points? Follow these simple steps to learn how.

.png)
Address mapping takes an address and translates it into coordinates (latitude and longitude). This process is called geocoding.
Geocoding is necessary because a simple address actually has no coordinates data — so it can’t be plotted on a map or GIS.
That's why if you’d like to plot an address on a map, the first step is to use geocoding to get the coordinates of the address.
Then you can use the coordinates for routing or to plot the address on a map with a marker.
In this article, I’ll show you exactly how to do both!
Step 1. Create an Address List
First let's create a list of addresses.
If you’d like, you can save this list as an Excel spreadsheet or Google Sheets — it will come in handy later.

Step 2. Choose a Tool
There are countless tools on the internet for address mapping.
In this tutorial, we’re going to use a tool called Atlist.
Atlist has some benefits:
- Easy to use — No programming required.
- Embeddable — You can embed your map on any website.
- Routing — There’s a Google Maps routing integration included.
- Styling — The style of just about anything on your map can be customized: marker colors, map styles etc.
- Search & Tags — Search and tag overlays add powerful filtering to the markers on your map.
- Geocoding Included — With Atlist, you don’t have to worry about geocoding because addresses are automatically geocoded using the Google Maps API.
If you'd like a simple and free alternative, I'd suggest trying this simple Map Maker.
Full disclosure: I’m a cofounder of Atlist — so I think it’s a great tool but I’m a bit biased!

Step 3. Upload the Address List
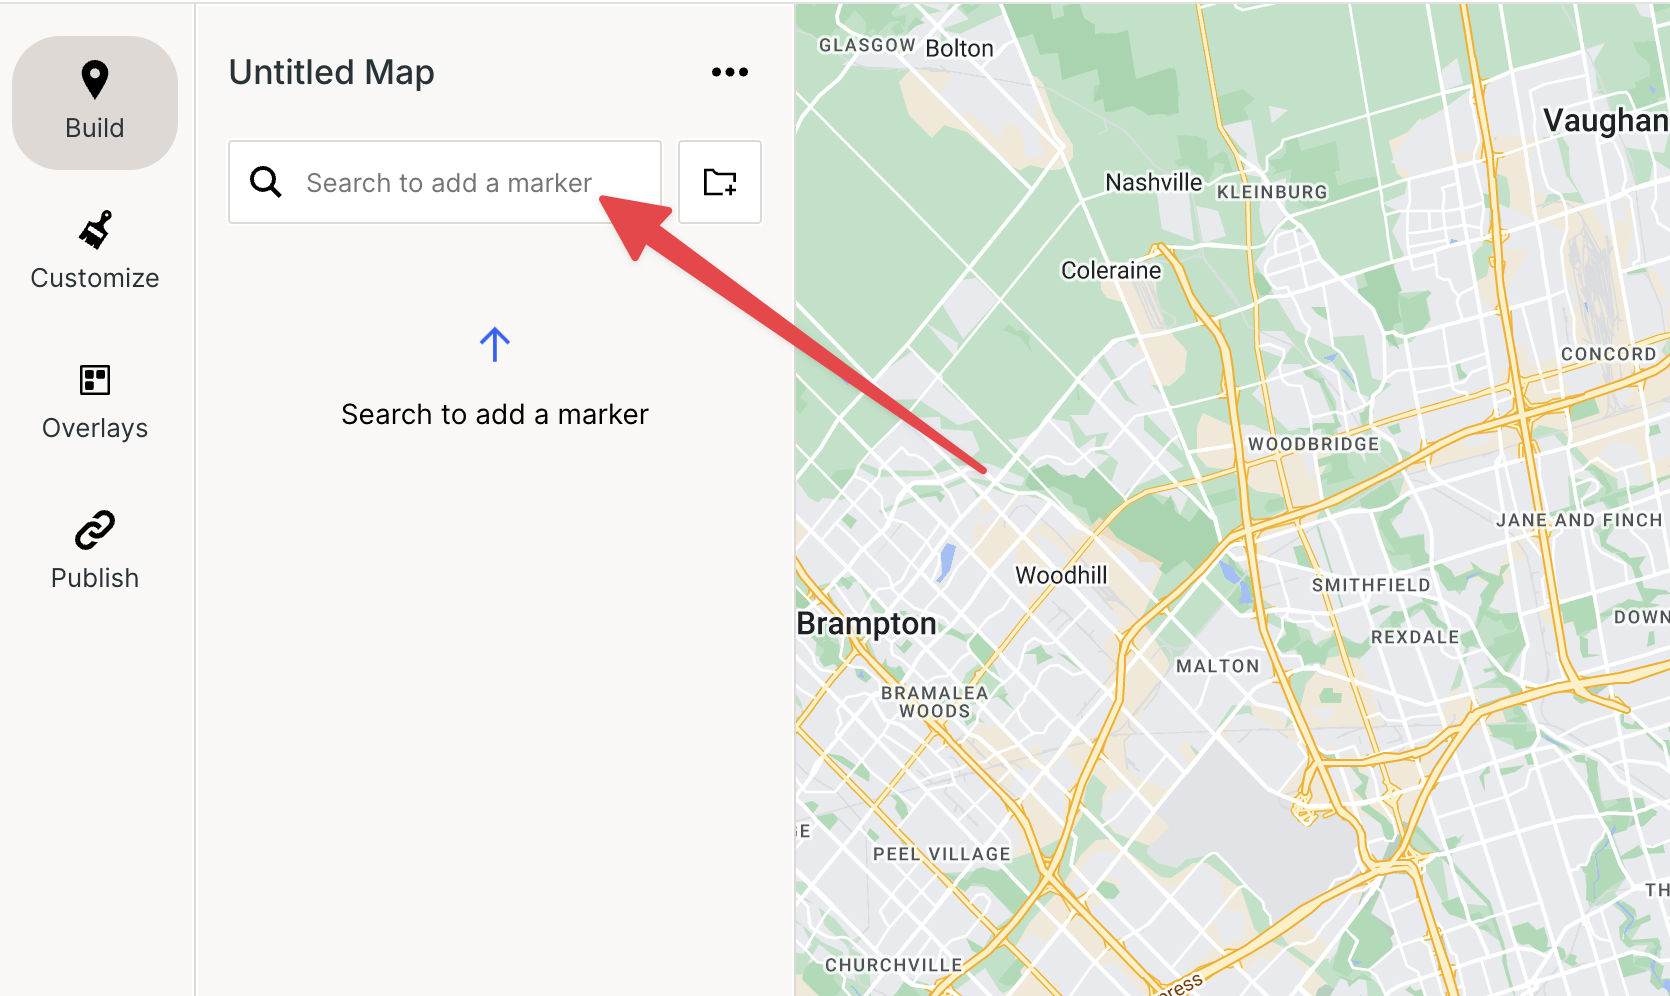
First, let's create a new map on Atlist:

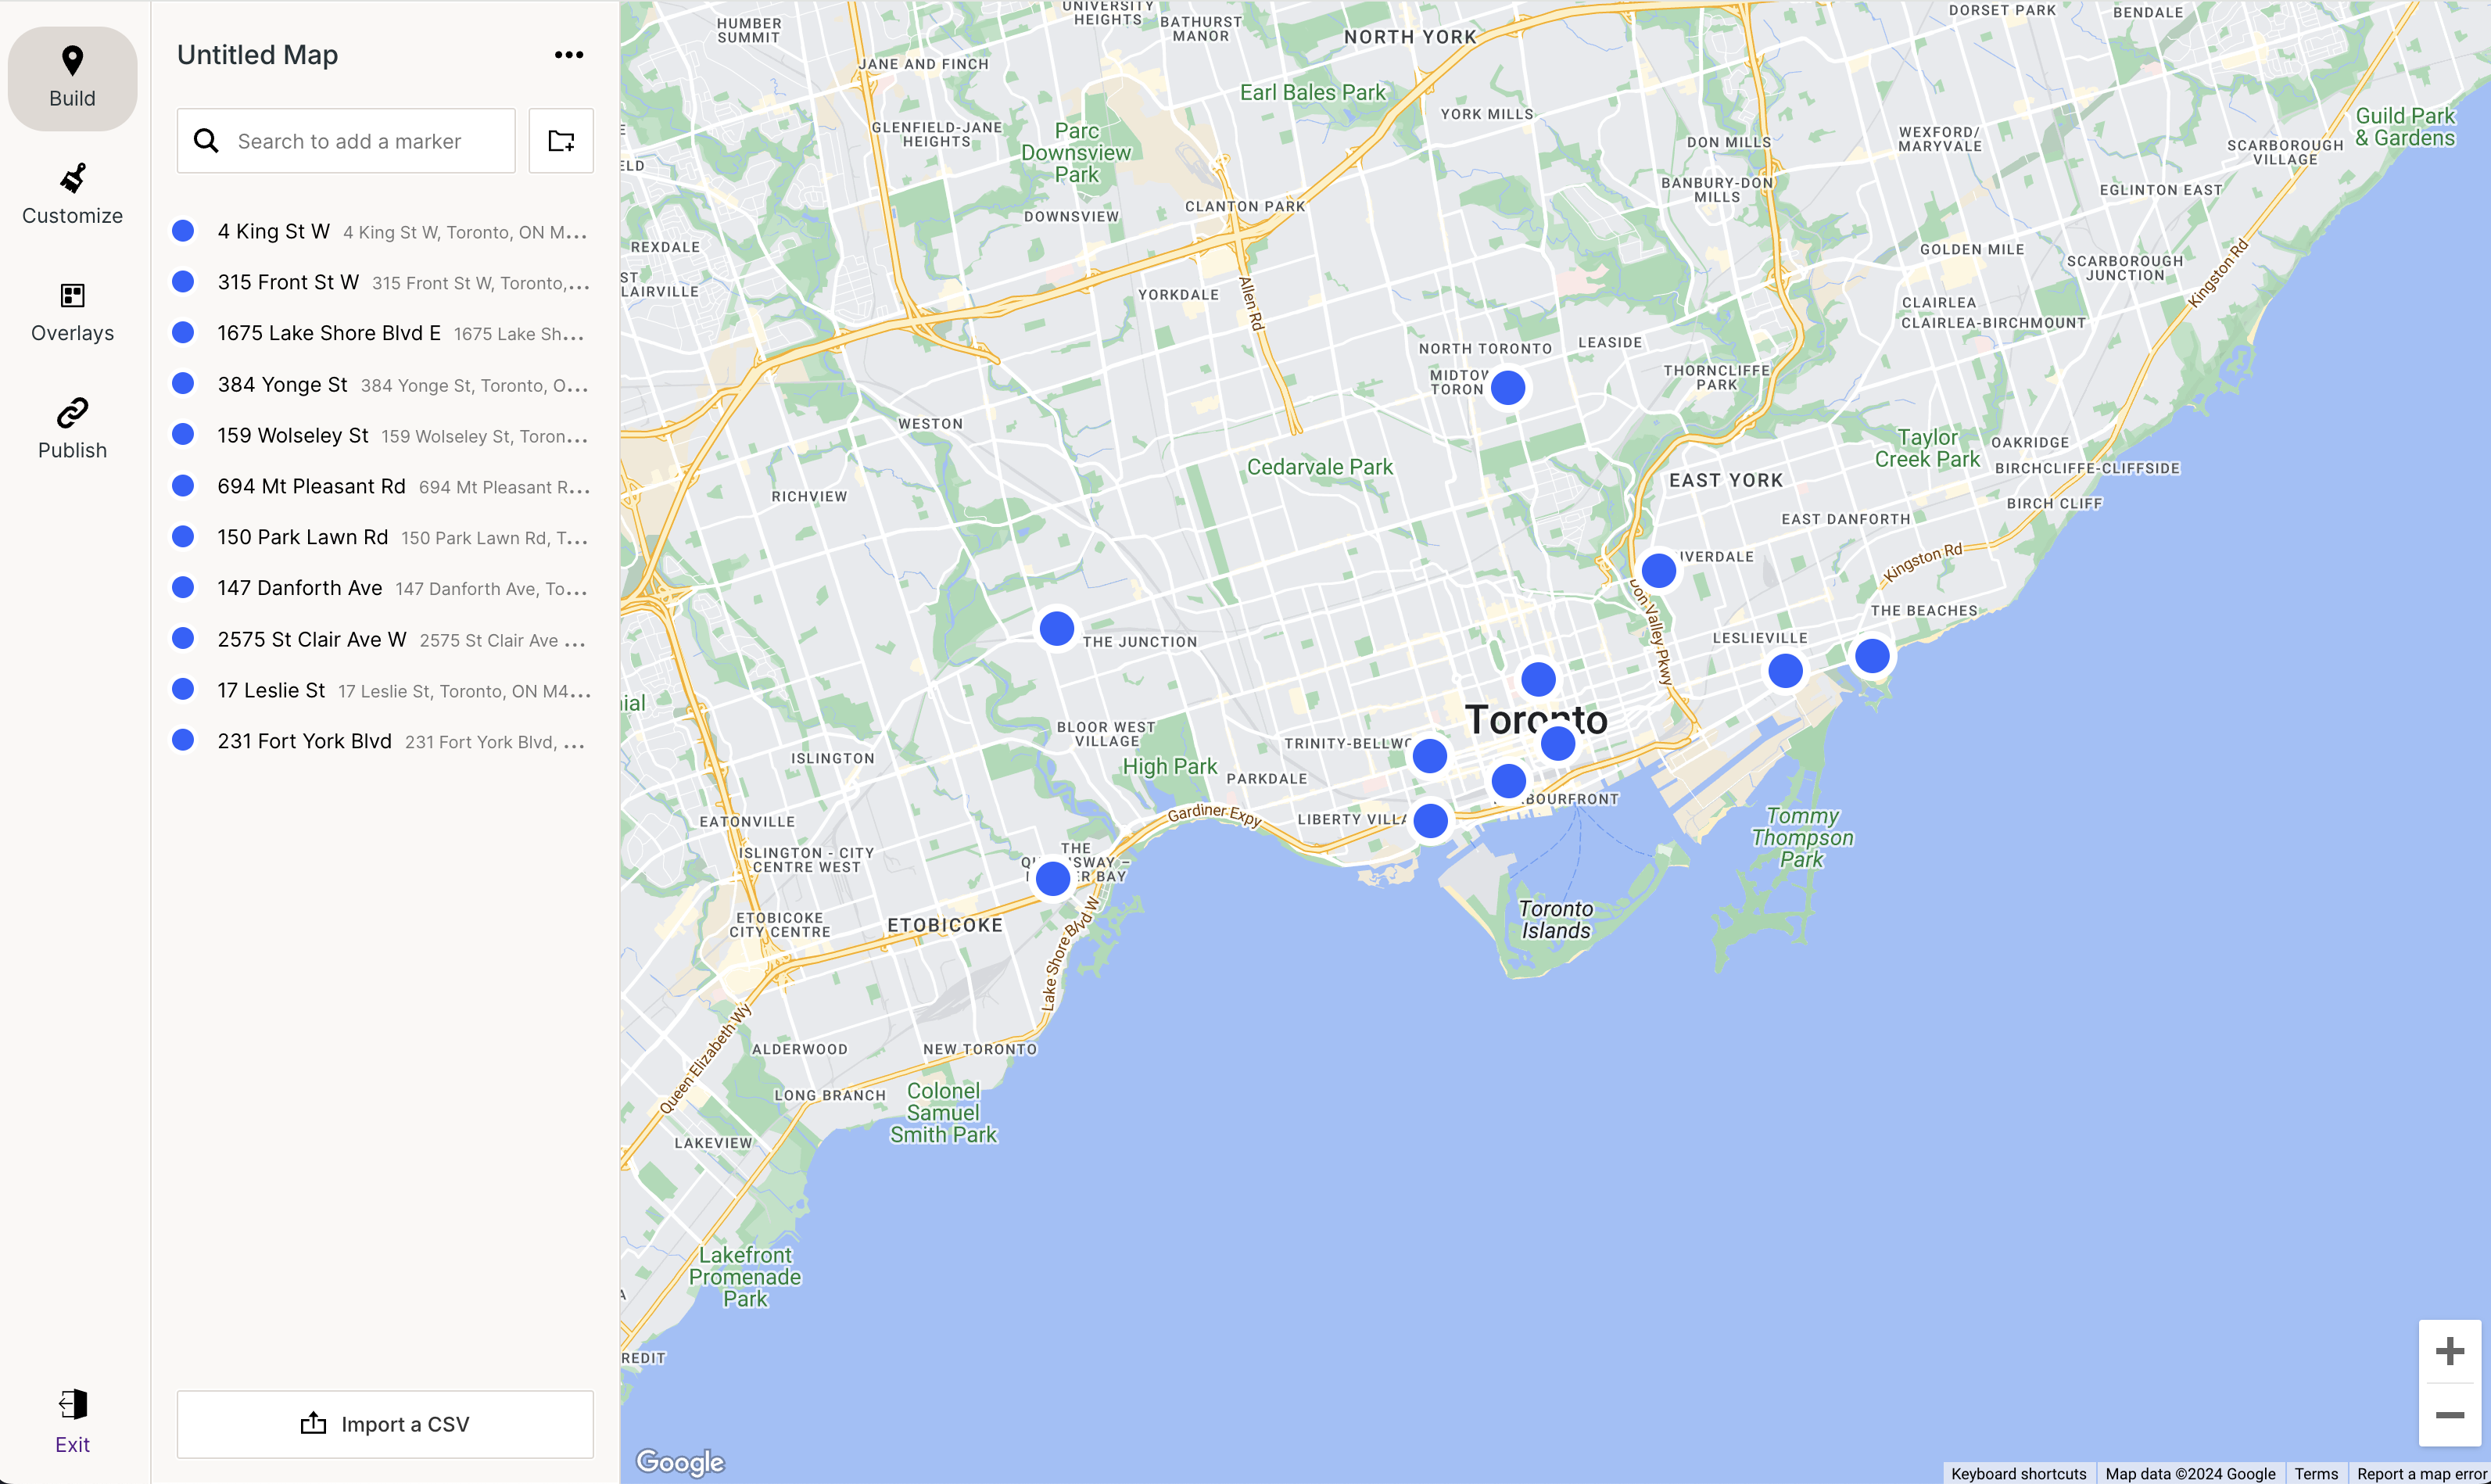
Now let’s map some addresses!
There are two ways to plot addresses:
We can add markers by searching each physical address in our list one-by-one...
... or we can upload a CSV spreadsheet with multiple addresses. This allows us to upload our list in bulk.
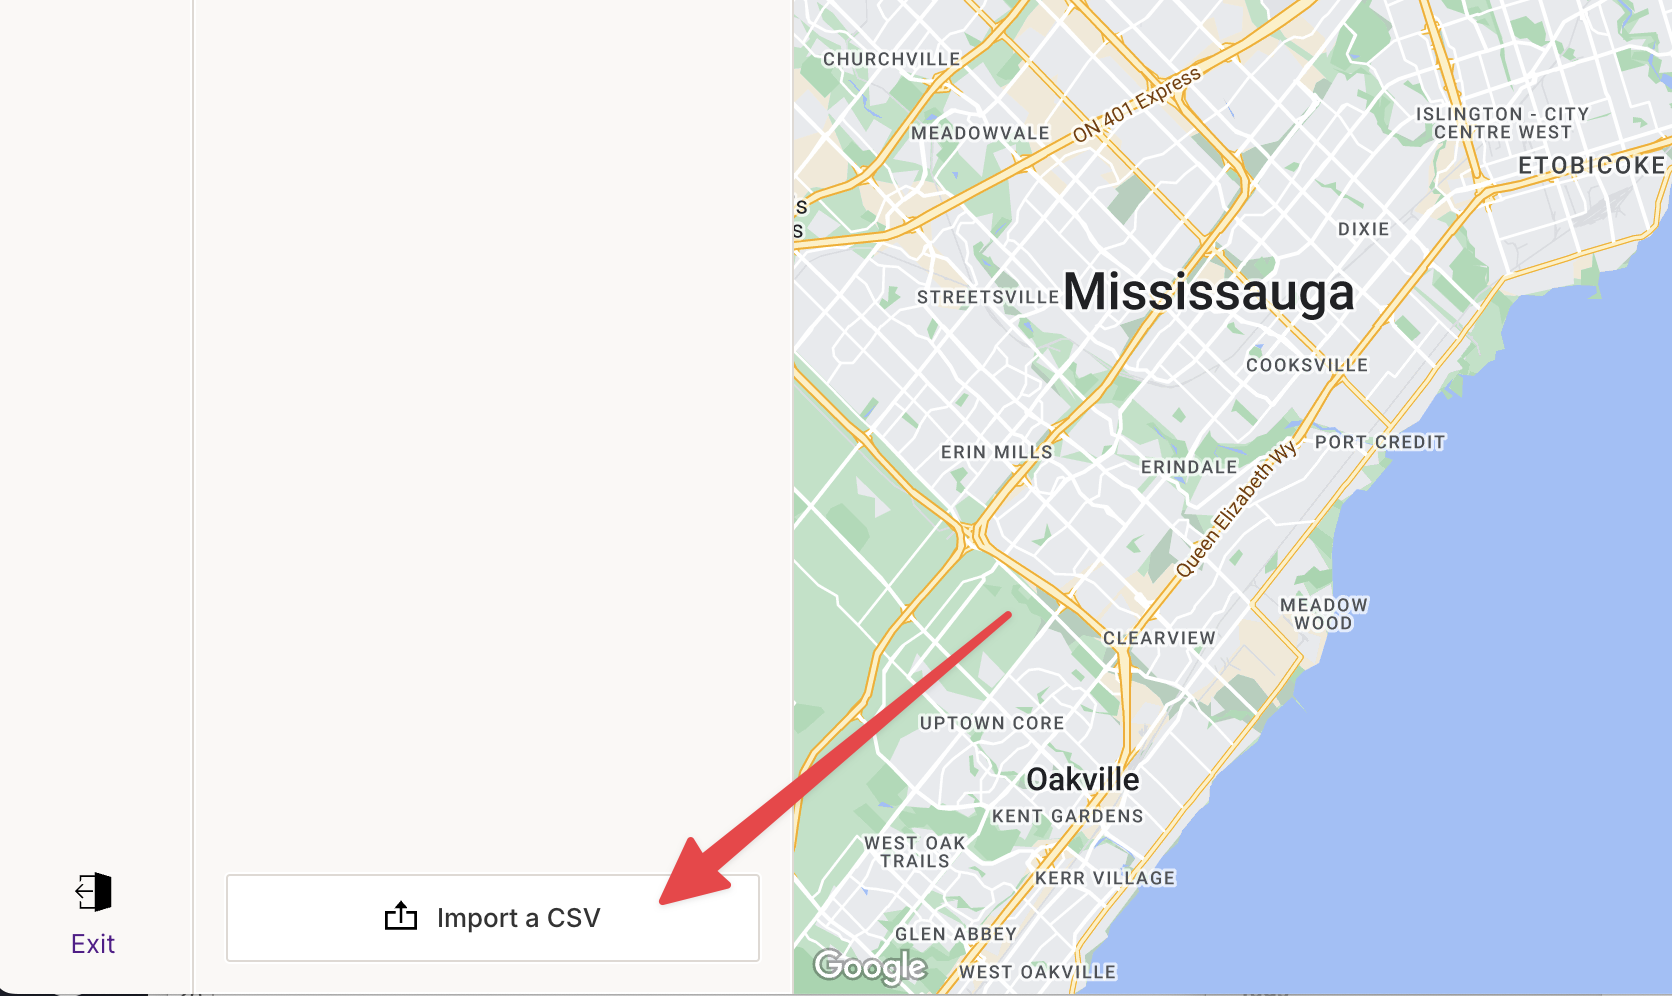
Here’s how our list looks once it’s uploaded:
Wait — what’s a CSV spreadsheet?
Did I lose you?
Not familiar with CSV spreadsheets?
CSV stands for Comma Seperated Values and it’s a universal spreadsheet format.
You’ll need to save your spreadsheet as a CSV before importing it to Atlist — fortunately all spreadsheet programs let you save as a CSV:
Microsoft Excel
File -> Save As -> CSV
Google Sheets
File -> Download -> CSV
Apple Numbers
File -> Export To -> CSV
Still confused about importing a CSV? Read this article.
Step 4. Customize the Map
There are plenty of ways to customize your map on Atlist — here are just a few:
- Map Styles — Choose between Atlist’s library of map style templates or import your own JSON map style to customize the map layer. (More Info)
- Routing — Add buttons to modals that let you automatically find optimized routes with Google Maps. (More Info)
- Set an Initial View — Choose the zoom and center location for when your map first opens.
- Photo Galleries — Upload photos to attach to each location.
- Groups & Tags — Organize your addresses into groups and tags. (More Info)
- Overlays — Add powerful overlays such as Search and Tags that let you filter your markers. (More Info)
- Current Location — Let your visitors plot their current location on the map. (More Info)
- ... And much more!
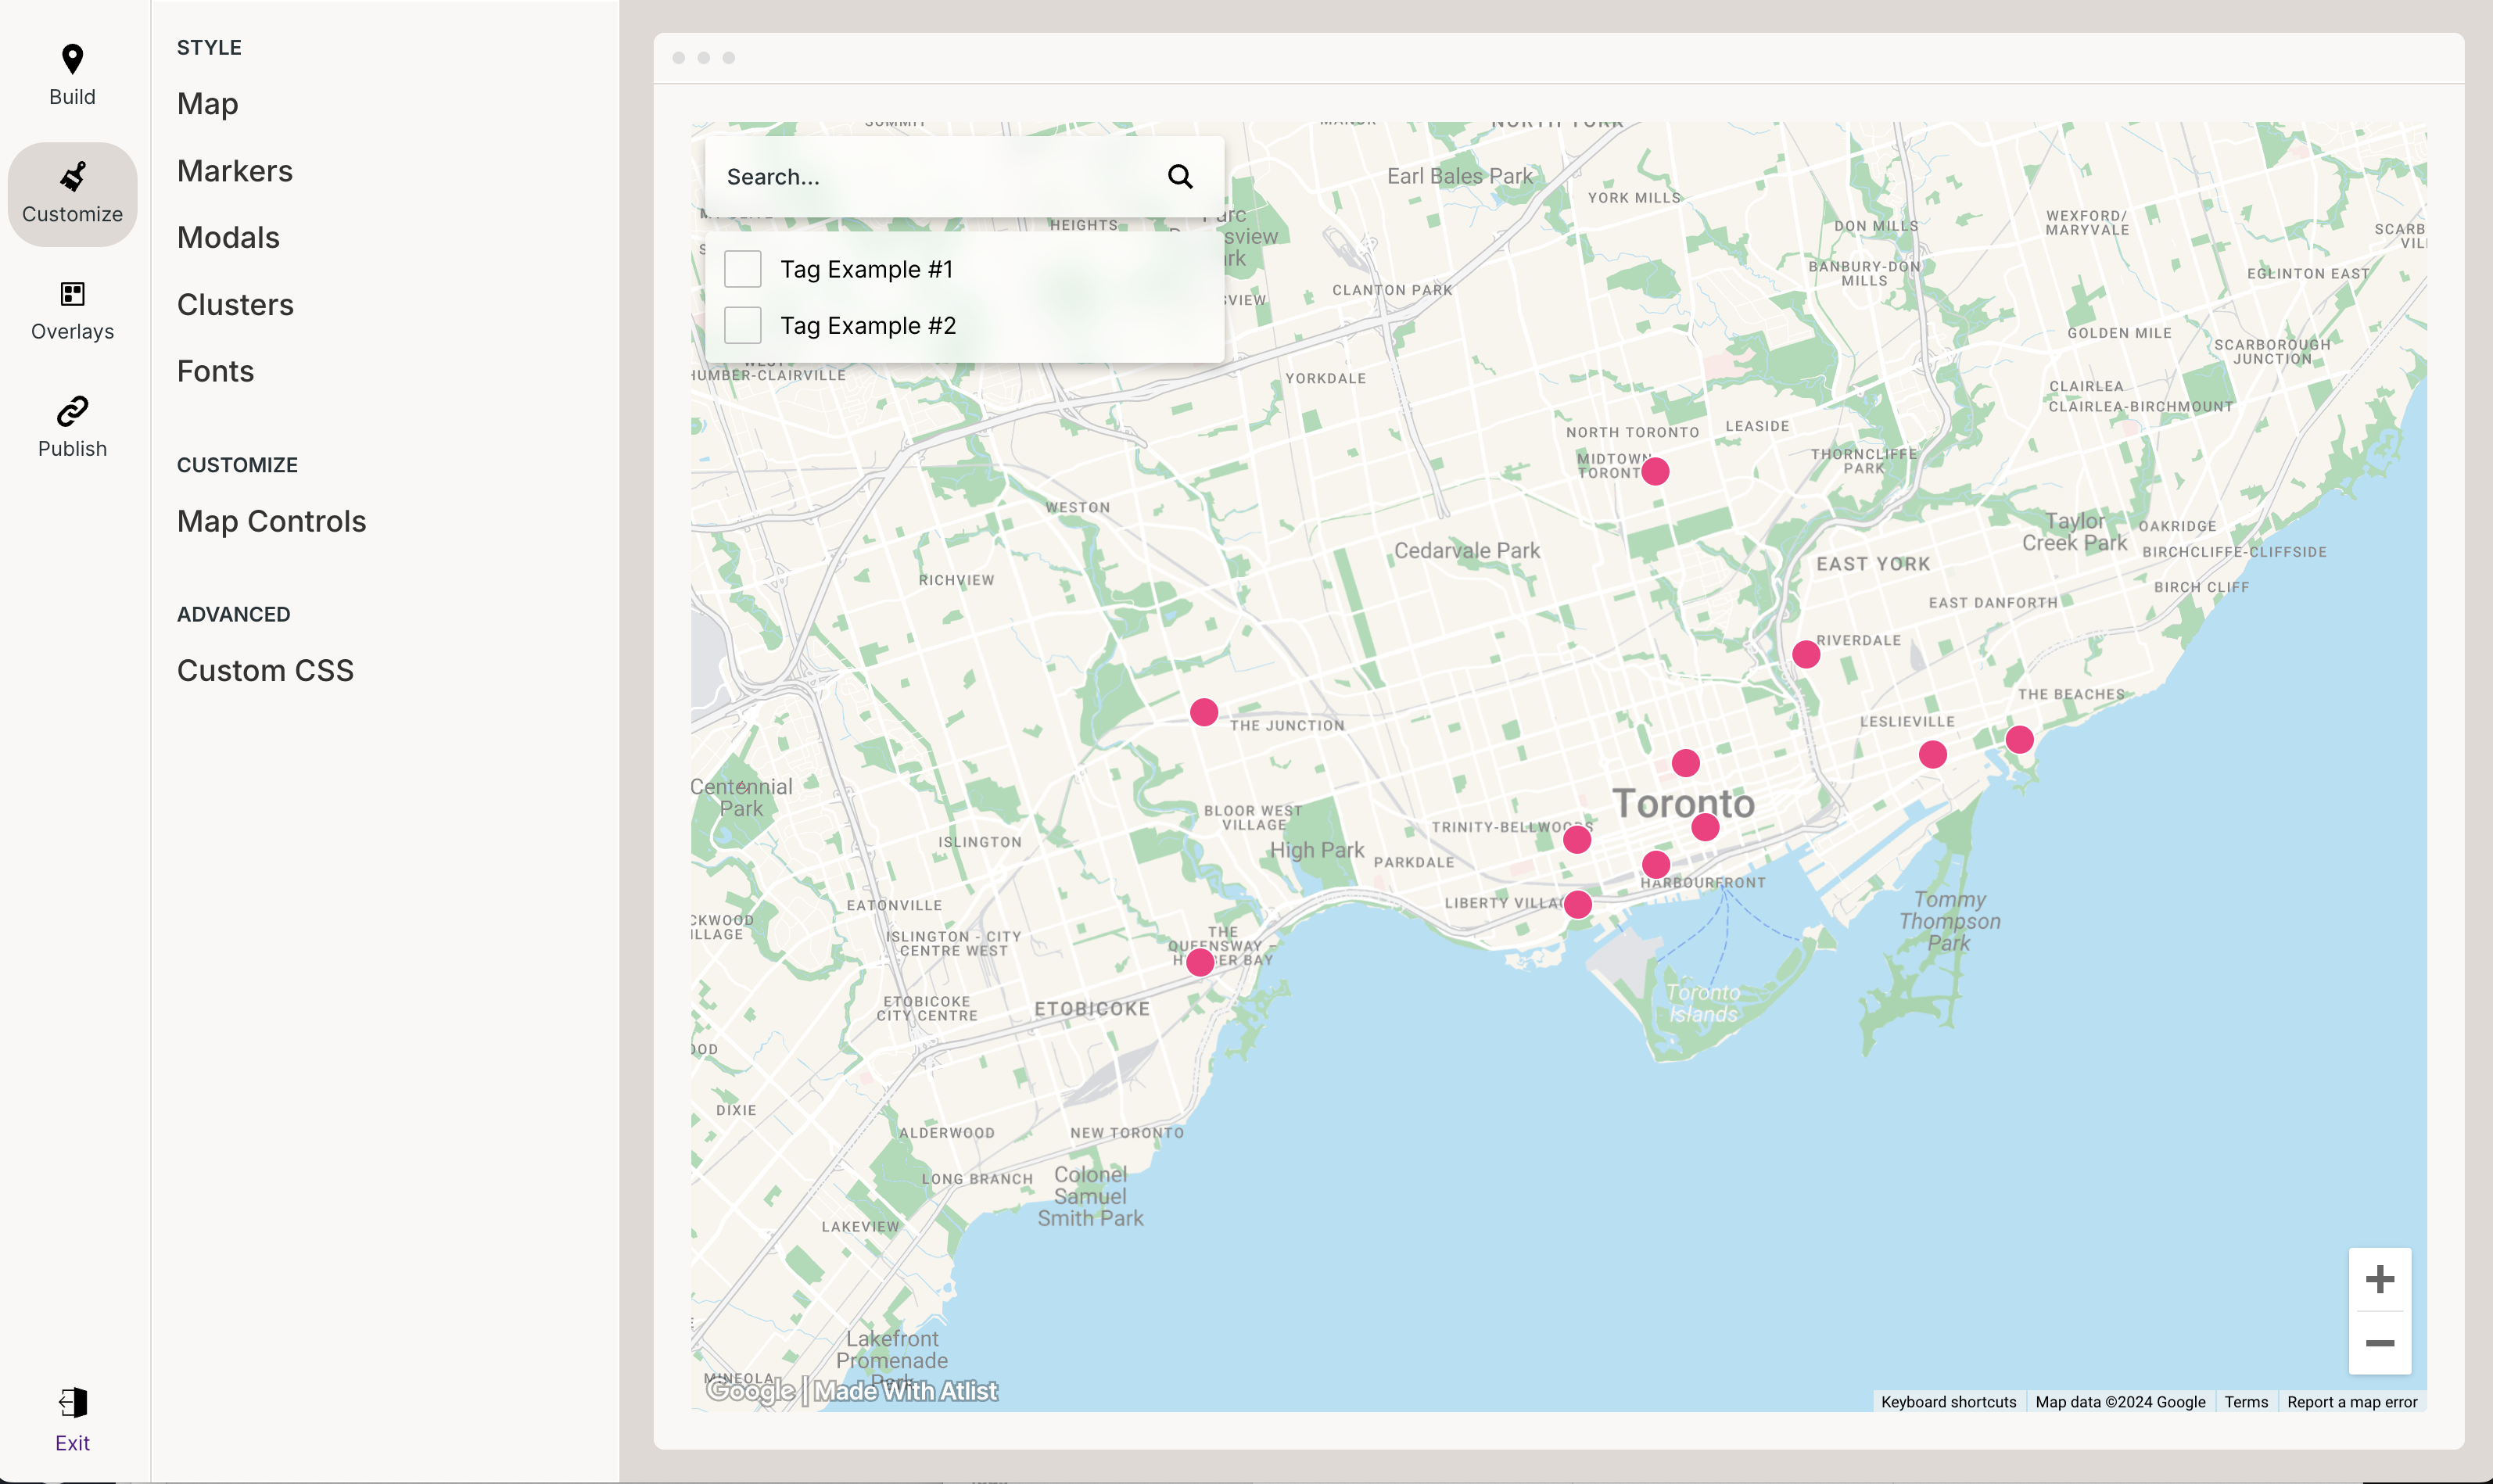
I made a few customizations to my map and here’s how it turned out:
Step 5. Publish
Now that we’ve created our map with multiple locations, it’s time to publish it.
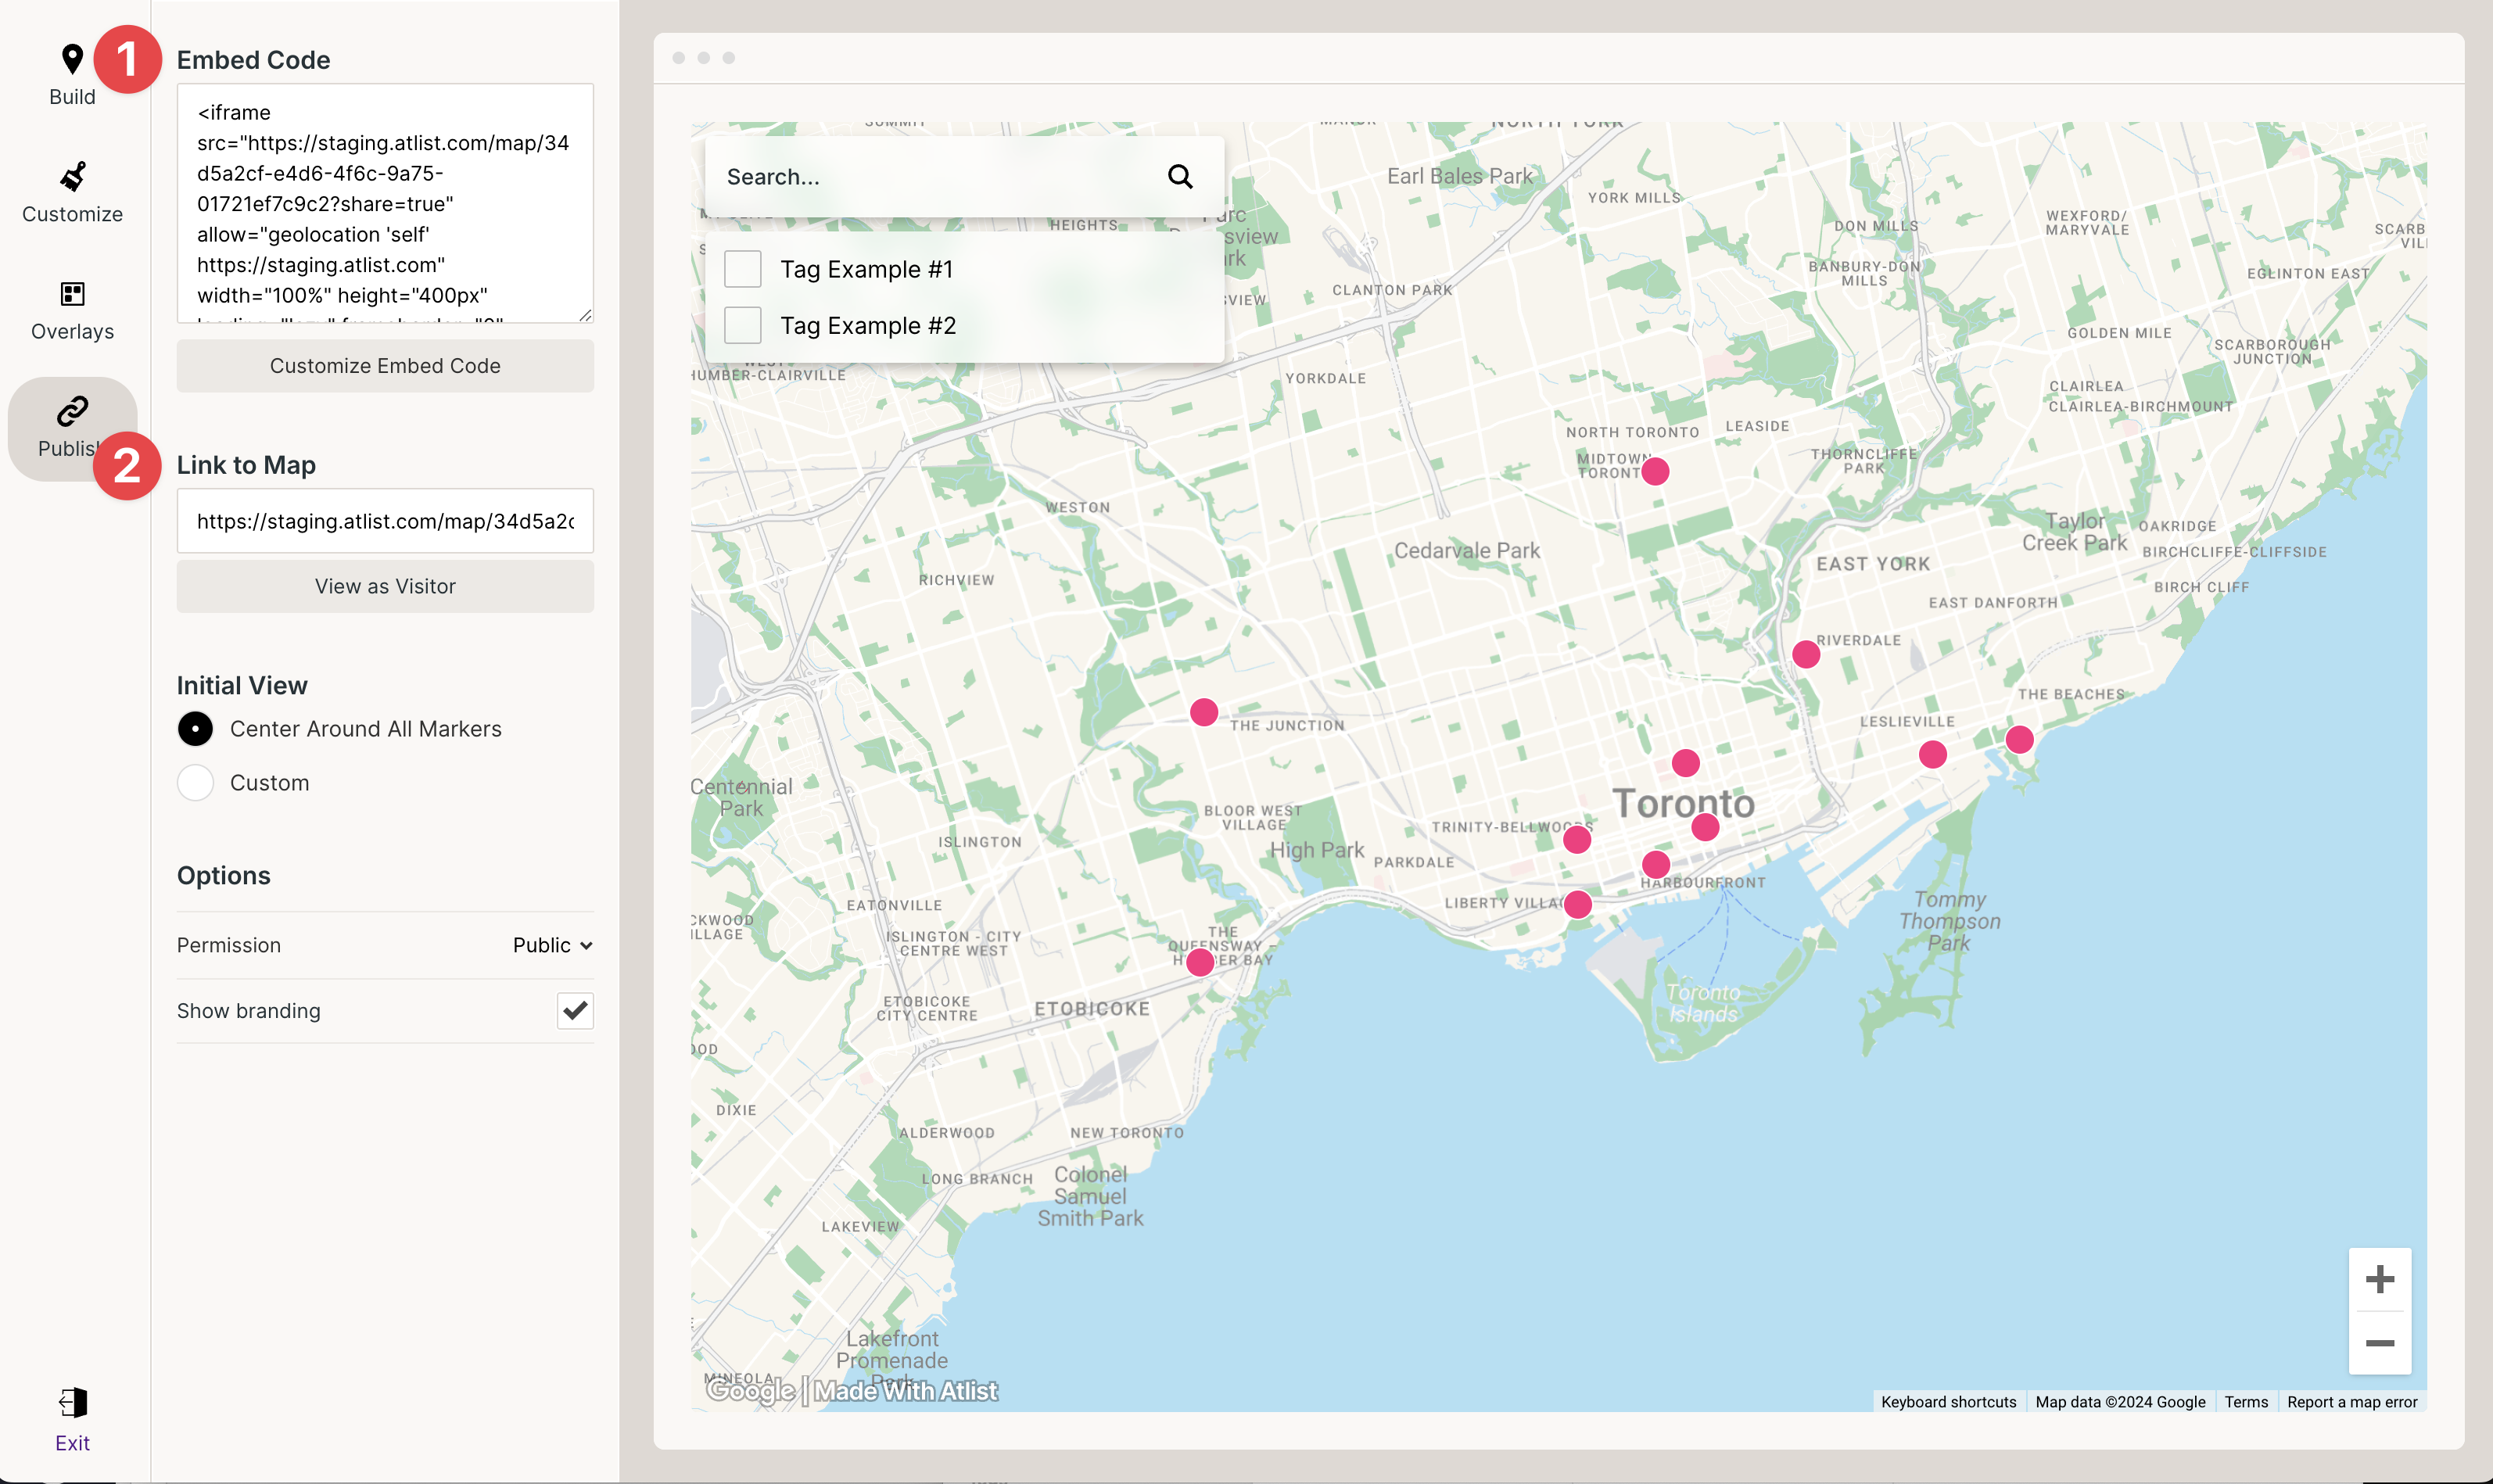
There are two ways to to publish with Atlist:
- Embed — You can use the embed code to add your Atlist map to any webpage.
- Link to Map — If you just want a shareable link to your, you can use this link. embed webpage
And that's the end of the tutorial!
Still stuck? I'd love to help more. Email me at hello@atlist.com.
FAQ
Is there a limit to how many addresses I can upload?
You likely wouldn’t want to add more than 5,000 markers. Atlist tends to run slow with that amount of markers.
One tip: Turn on clusters if you plan to have many markers.
Is Atlist free?
No. Atlist uses Google Maps to create maps and Google charges almost 1 cent every time a map is loaded — so a free version of Atlist isn’t possible. See the pricing page for more.
What are some common use cases for address mapping with Atlist?
Atlist is used for everything from a store locator to a simple visualization of physical addresses.