How to Create a Custom Google Maps
This is the easy way to plot multiple markers on a beautiful custom Google Map.

In this article we are going demonstrate how to create a custom Google Map with two beginner-friendly tools:
- Simple Map Maker — Free but very basic.
- Atlist — Paid but very customizable.
Let's do this!
1. Simple Map Maker
Simple Map Maker is a tool for creating simple custom maps on top of Google Maps. It's free but a little basic.
Step 1: Go to Simple Map Maker.
Step 2 : List your addresses in this textarea:

Step 3: Then, create Map and download your map image

2. Atlist
I dived into pretty much every function of Google My Maps in the previous section. As you might have noticed, there aren’t many customization features on Google My Maps.
For customization and aesthetics, try Atlist, our custom map-making software built on top of the Google API— and an excellent Google My Maps alternative.
Step 1 : Sign up at atlist.com
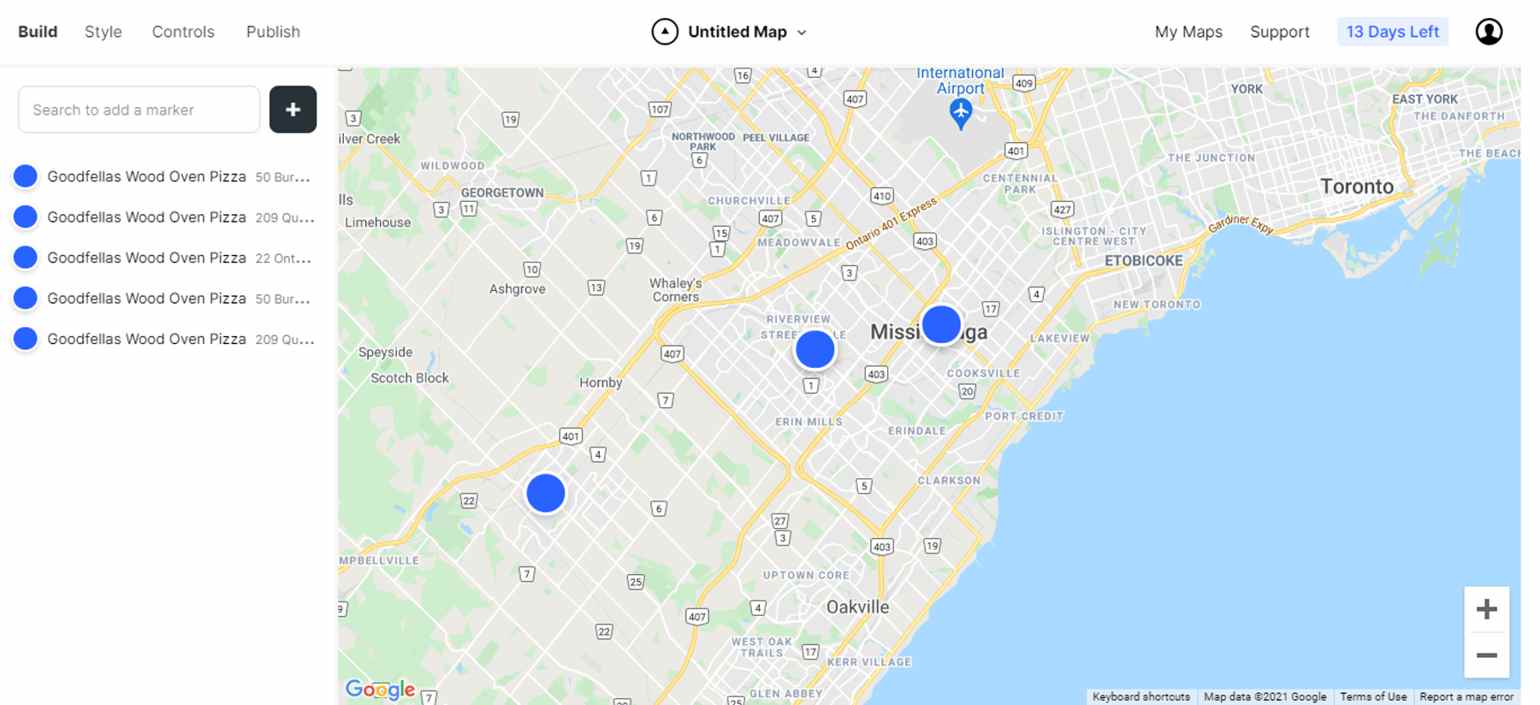
Once you sign up and click on “New Map,” you’ll see an untitled map, ready to be customized.
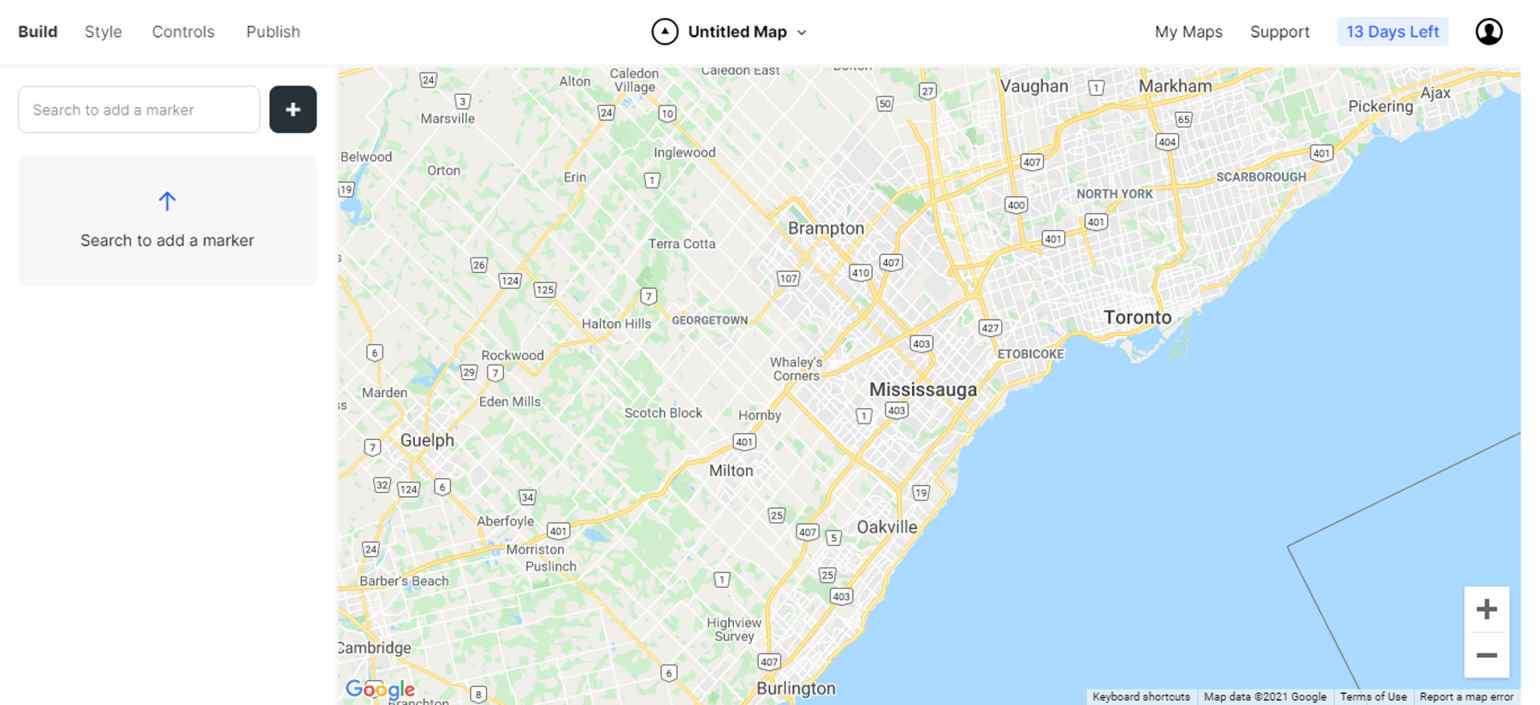
Step 2 : Add marker(s)
If the location’s already marked on Google Maps, search for it and add markers.
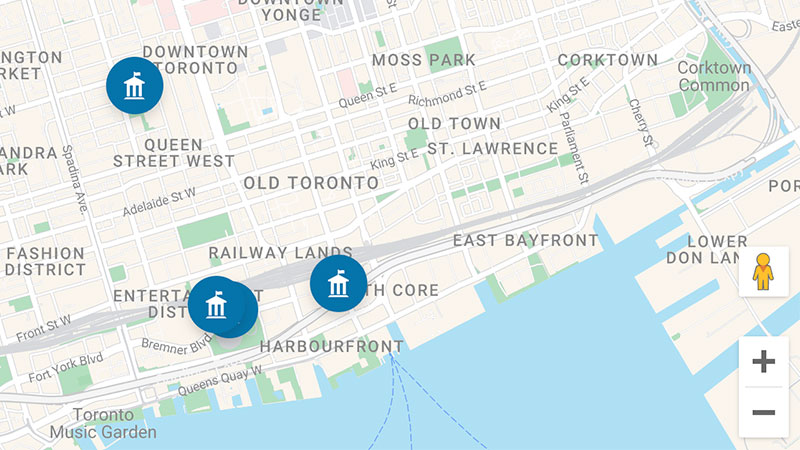
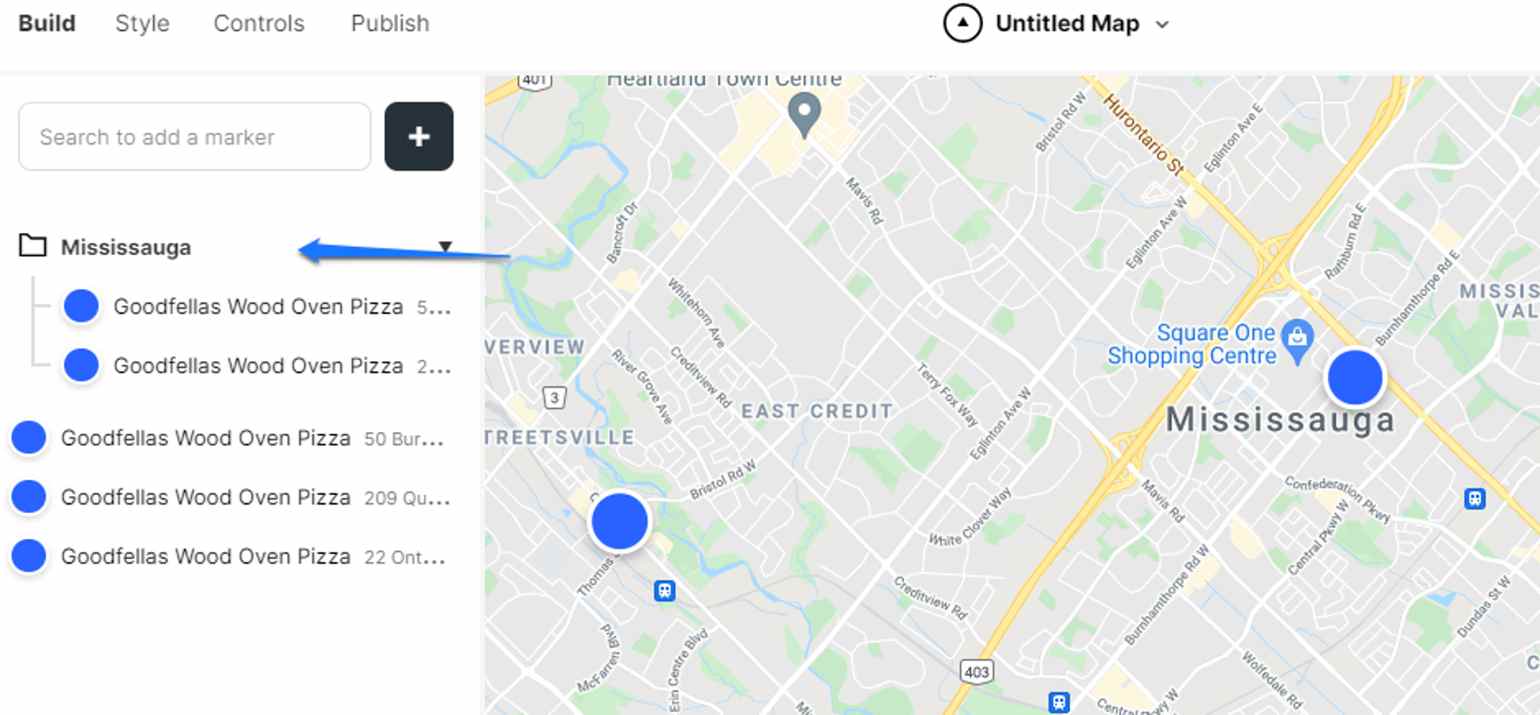
You can even create groups to categorize the markers:
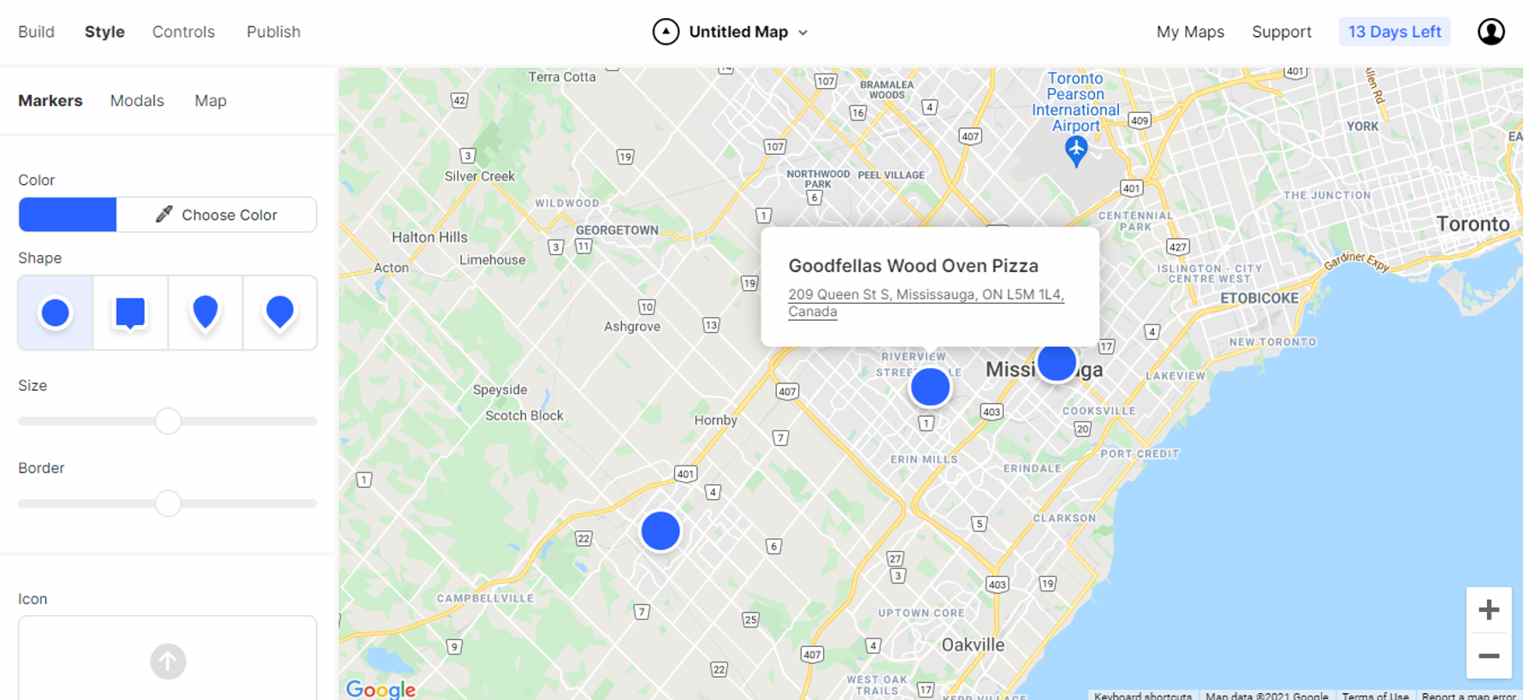
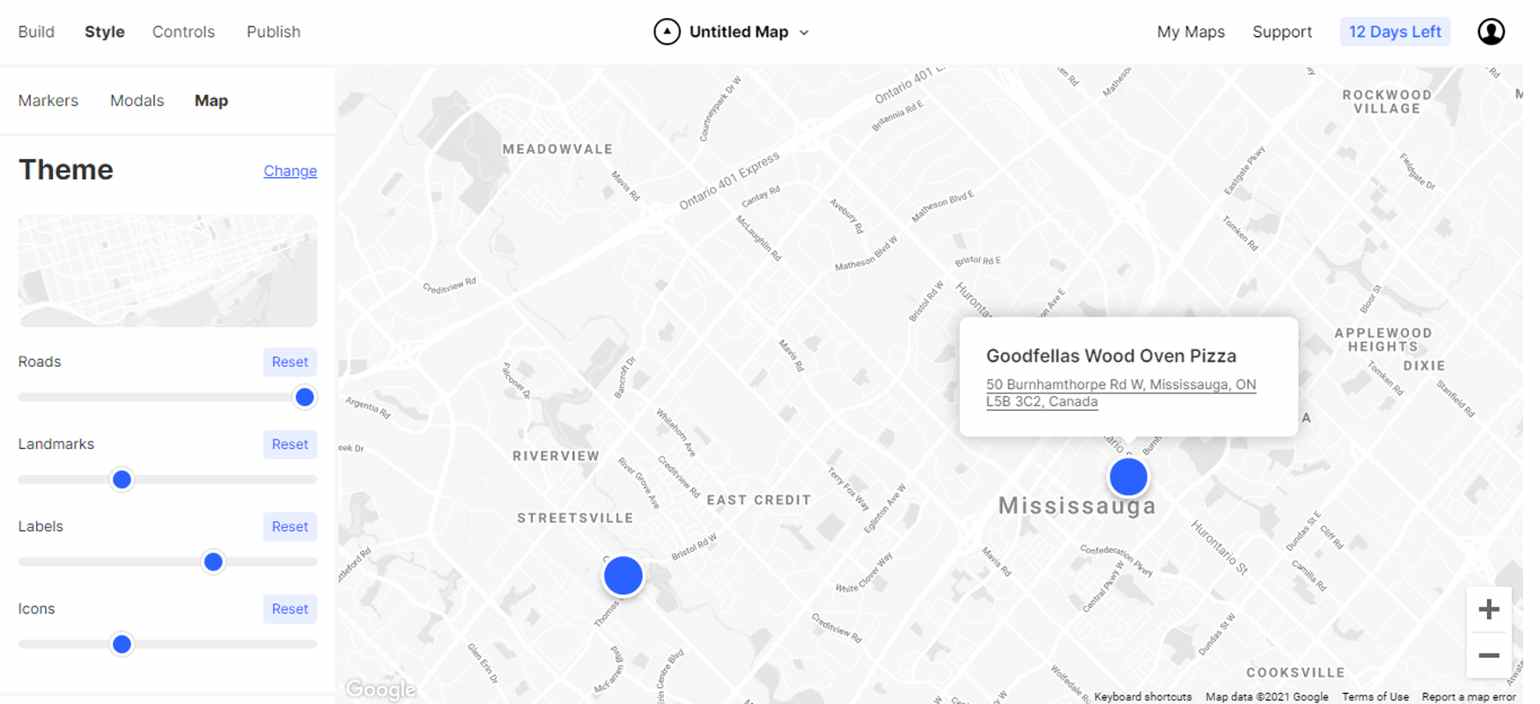
Step 3 : Style
Markers
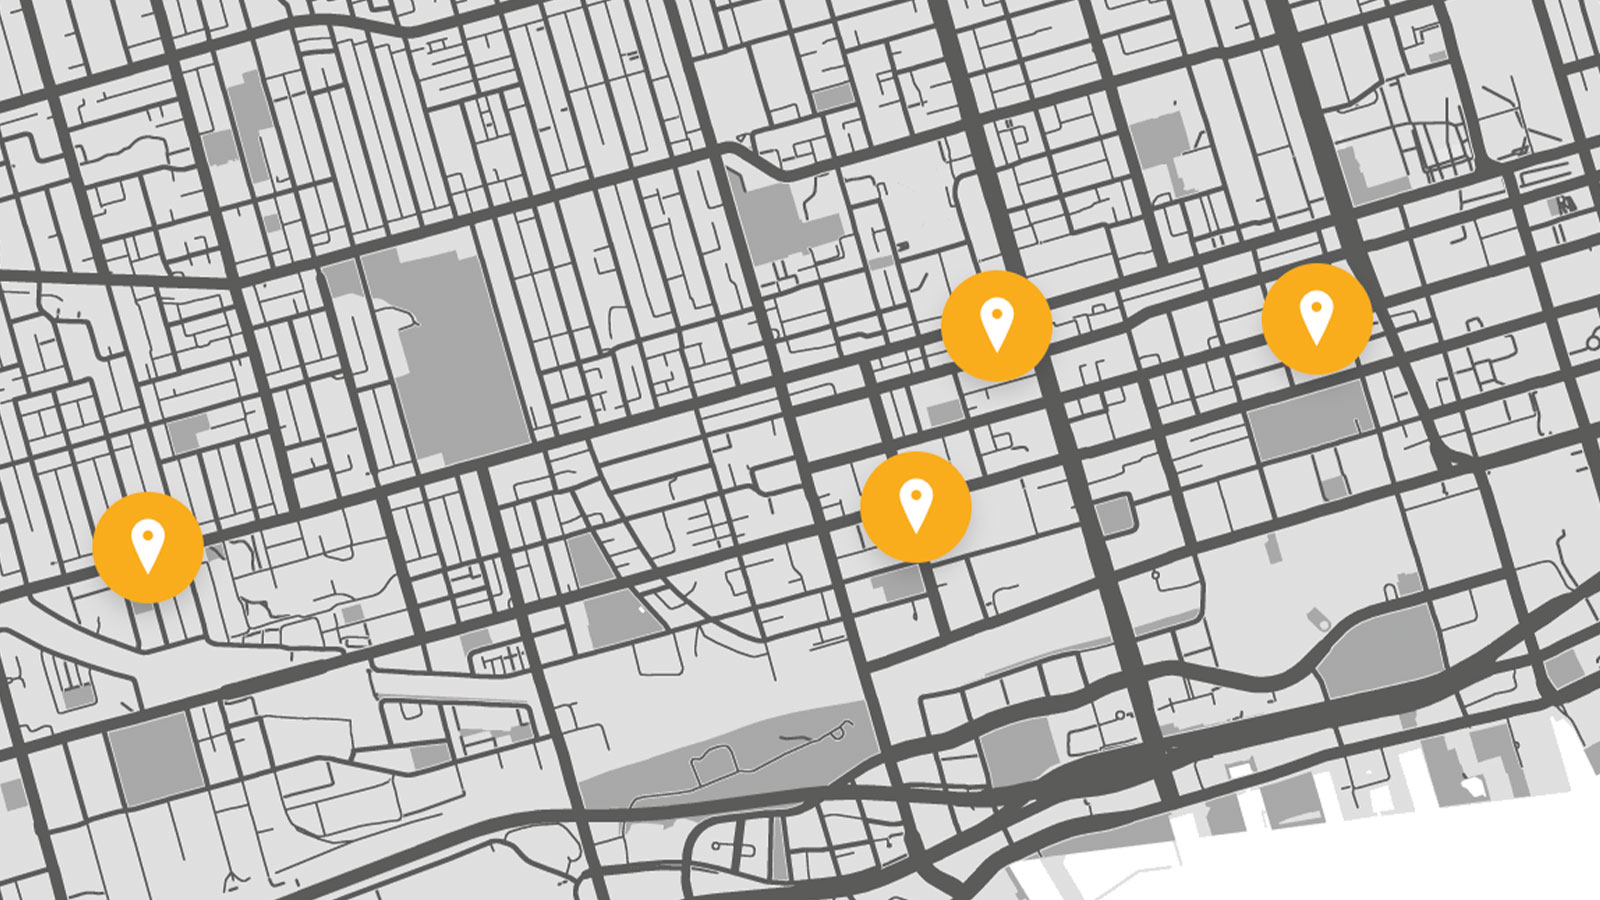
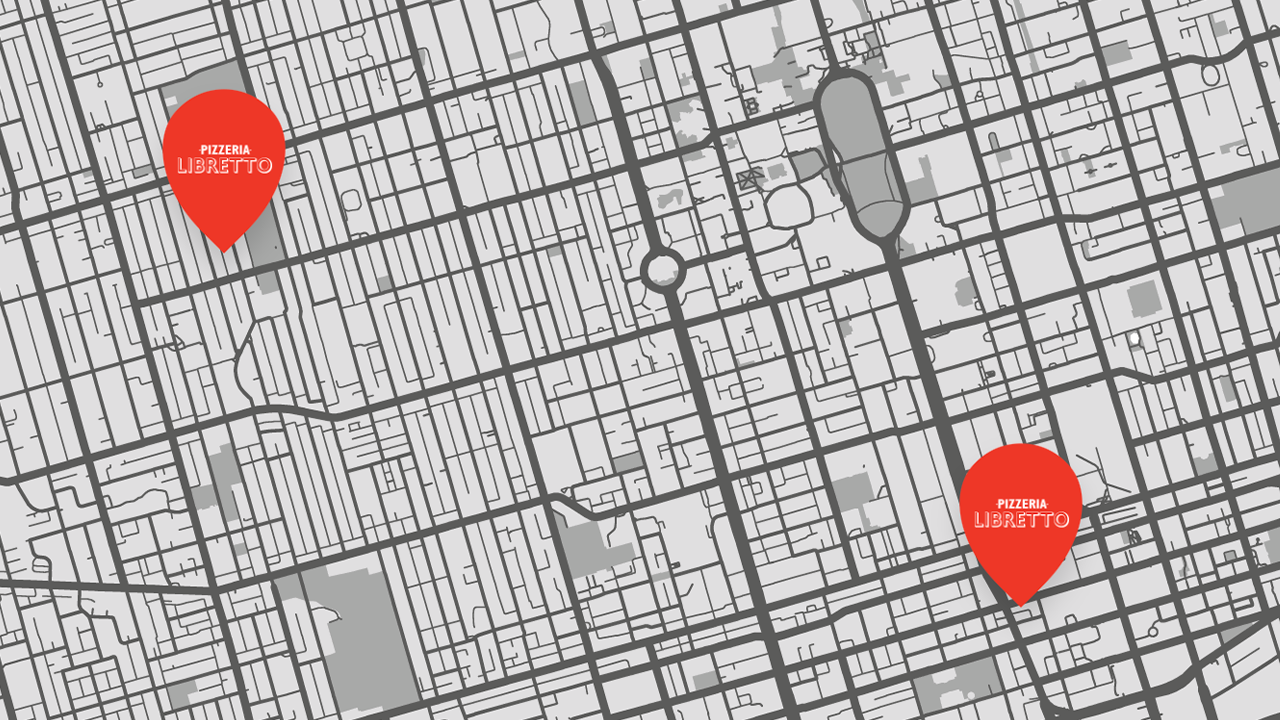
You can customize everything about the marker: color, shape, size, border, icon, and even add a custom marker.
Modals
Modals are the popups that appear when you click on a marker.
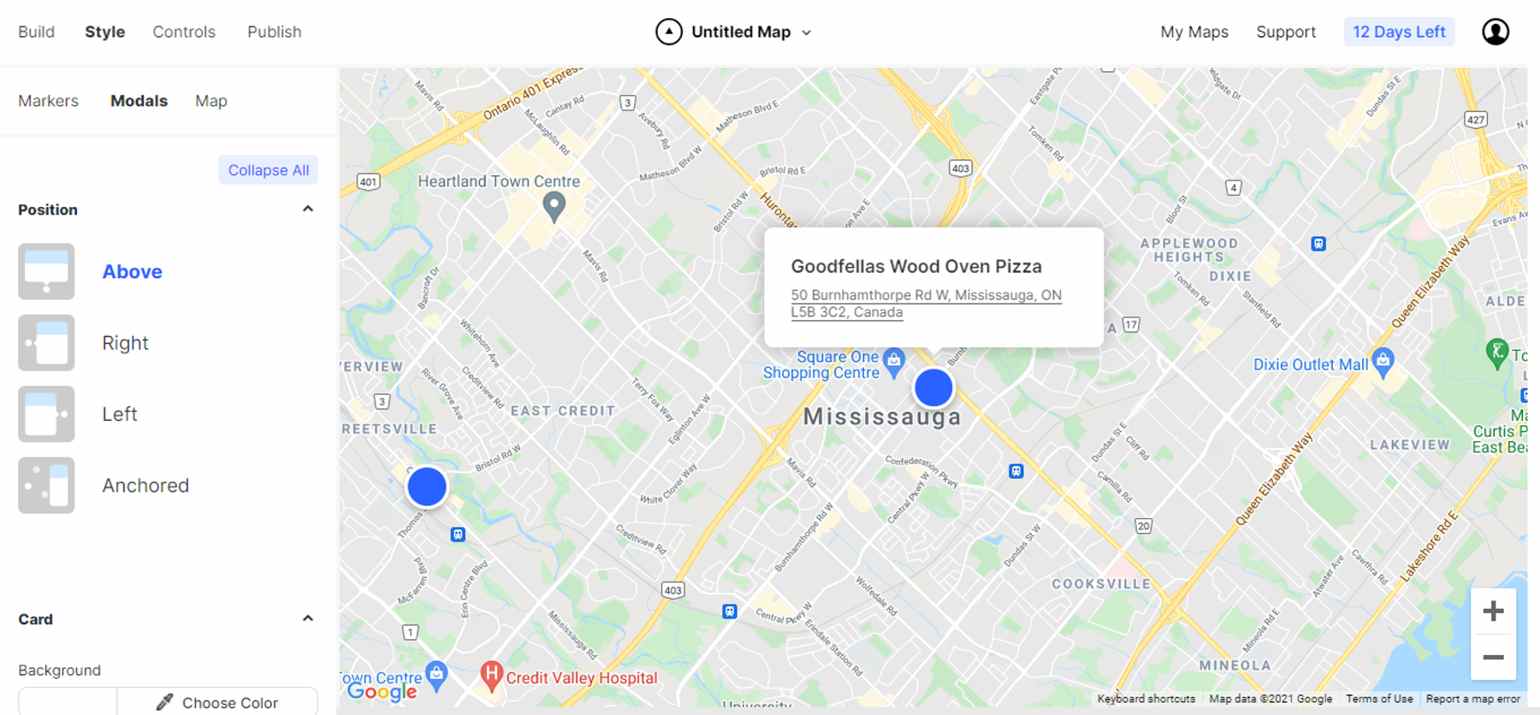
With Atlist, you can style everything about it:
- Position : Show it on the left, right, above, or anchored.
- Card : Change the card’s background color, padding, roundness, and shadow.
- Title, address, note : Change the size, color, weight, and visibility of all the text elements inside the card.
Theme
On top of changing the base map of your custom map, you can limit the number of roads, landmarks, labels, and icons you want to show.
Step 4 : Publish
The last step is to publish the map. By default, the map is public to anyone with a link, so you just need to choose from the two options: Embed & Link.

Copy embed code to embed on your website or share the link to the map.
Tip : Before publishing, make sure to rename it from “Untitled map” and check the preview to avoid any further edits.
That’s it.