How to Plot Pins on a Map Using Atlist


Whether you’re creating a global map of the world or laying out your next roadtrip on a US map, combining the power of Google Maps with design tools from Atlist makes creating custom maps super easy. Oh, and it's available to try for free! (No credit card needed to give it a try)
Check out the following tutorial for a simple, step by step guide on how to create any push pin travel map you’d like. You'll see how we take the same extensive data from Google Maps and make the creation process fun!
Start by visiting Atlist.com and get to creating!
Step #1: Create Your Map
Click the “Create a Map” button in blue. We told you this would be simple. :)
Step #2: Sign Up!
If you haven’t already, you'll be asked to sign up for a free Atlist account or go ahead and login instead. Your account is where you’ll find all the push pin travel maps you’ve created in the past, as well as any ones that are currently in progress under "My Maps."
Step #3: Give Your Map a Name
By default all maps will receive the “Untitled Map” name. Simply click on the arrow next to the name, this will show a drop down menu where you can rename the file as you wish, export the map or delete it altogether. You can also come back to this later if you're not sure just yet.
.png)
Step #4: Plot Pins
Start to build your custom map on the left hand side of screen where it says “search to add a marker" and has a blue bouncing arrow below it. Begin typing in any address or company name and Google Maps will pull up multiple locations to choose from, with the closest match being at the top. Click the best option and you’ll see the first tack pop up on your custom map!
.png)
.png)
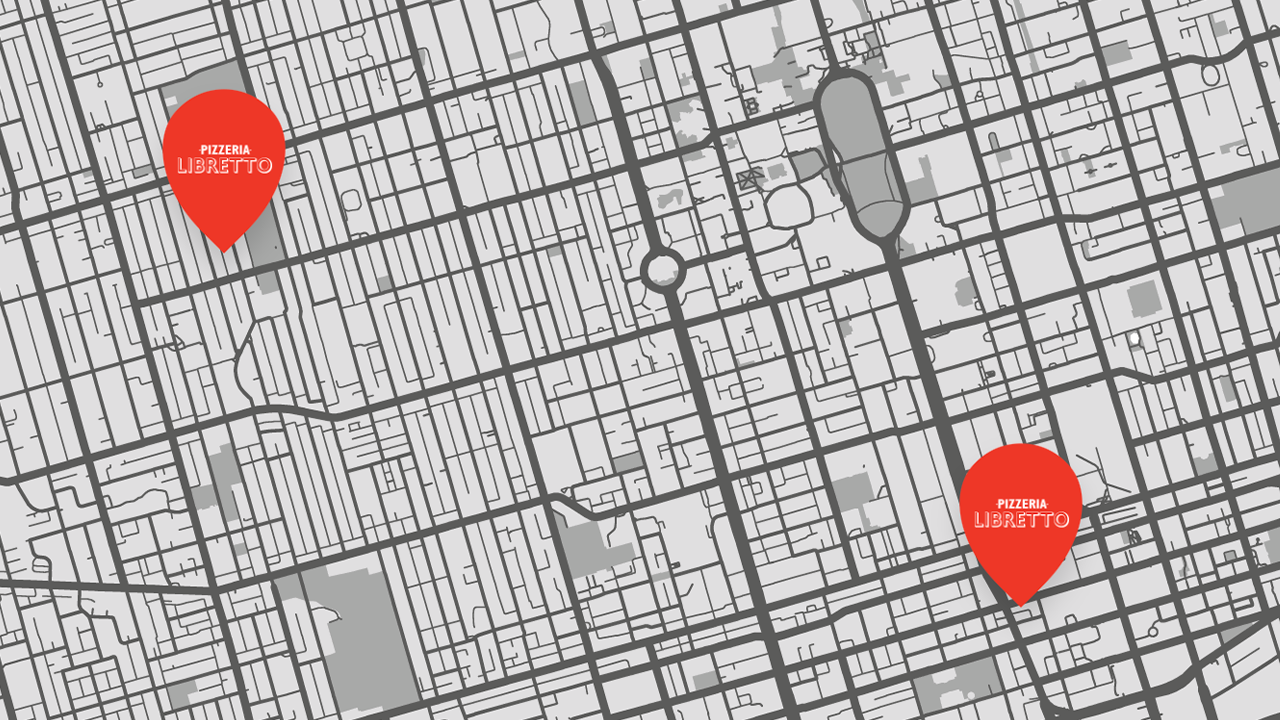
Single Pin Location Map
Some creators stop with a single plot pin and jump right into the design fun. A single plot pin map is can be used for many different reasons. Think small businesses or event hosts that need a detailed, custom map that they can share or embed to other websites or literature. Invitations to a special event would also benefit from a single location map, and adding some event appropriate design will attract the readers to this very important piece of information so they can easily make their way there.
.png)
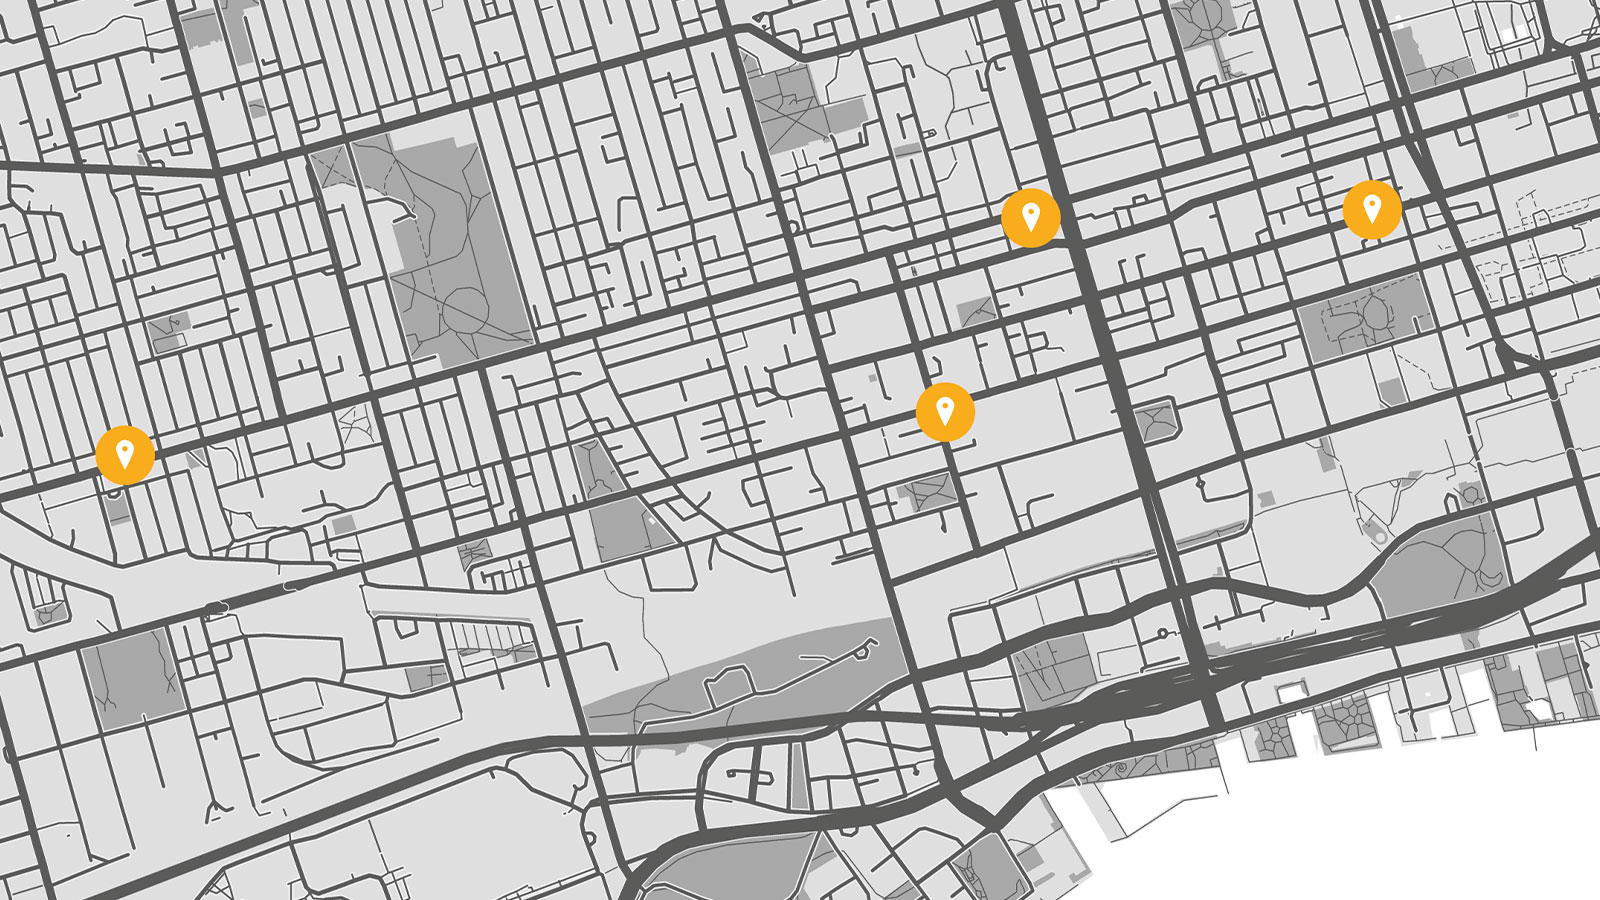
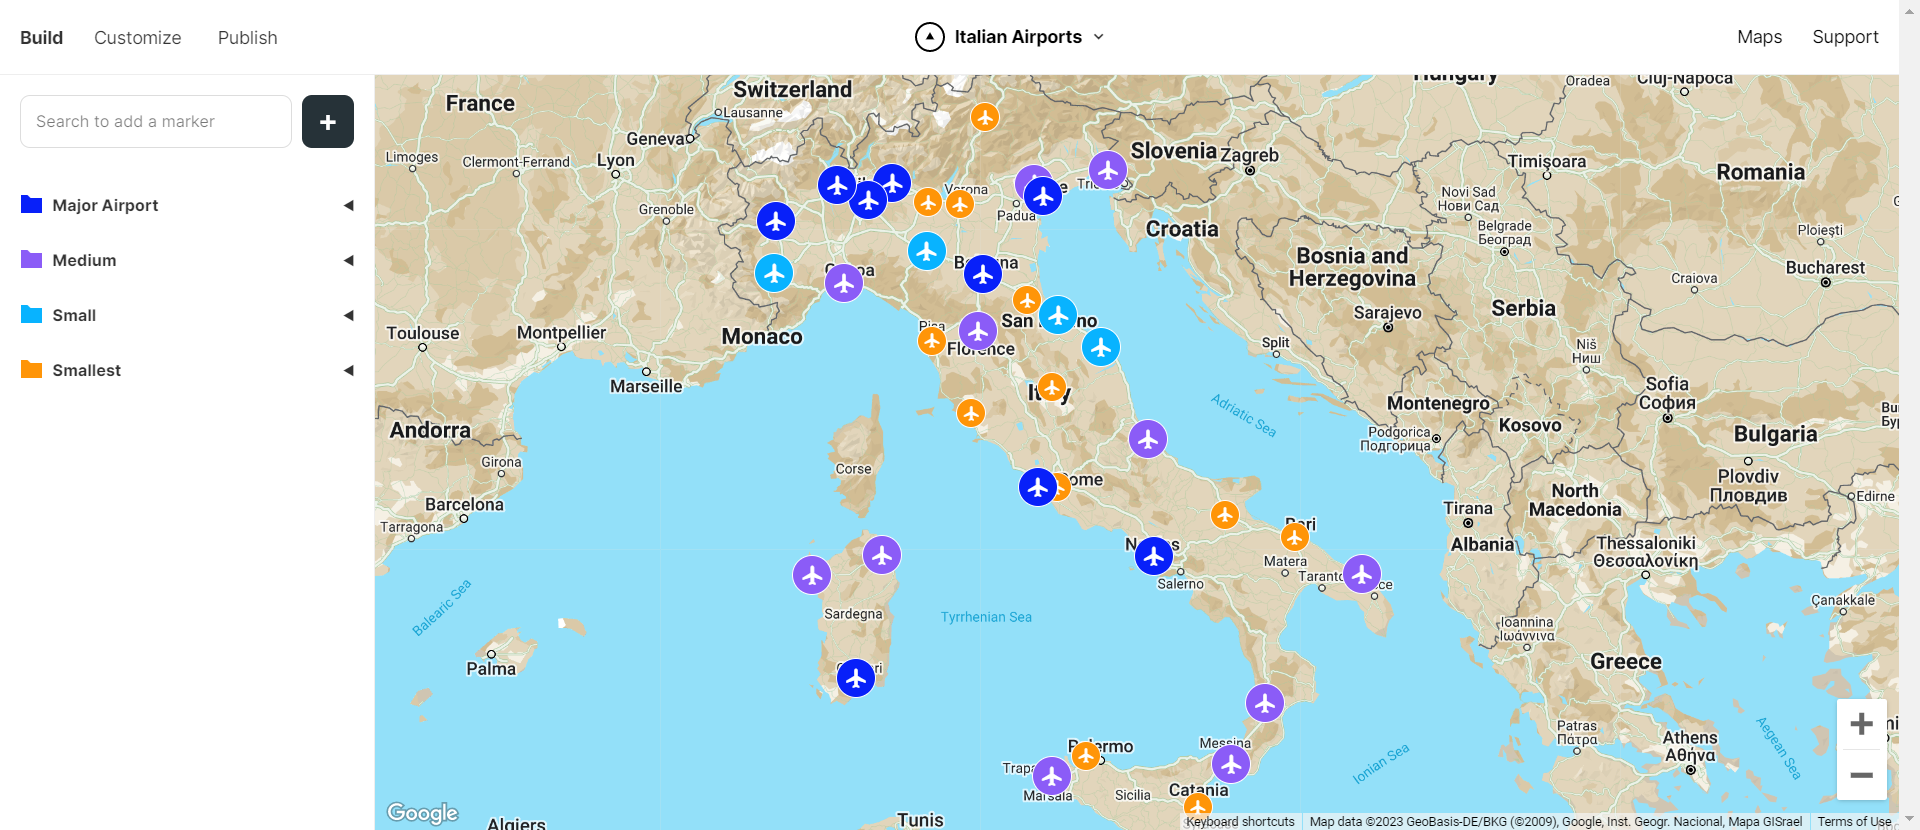
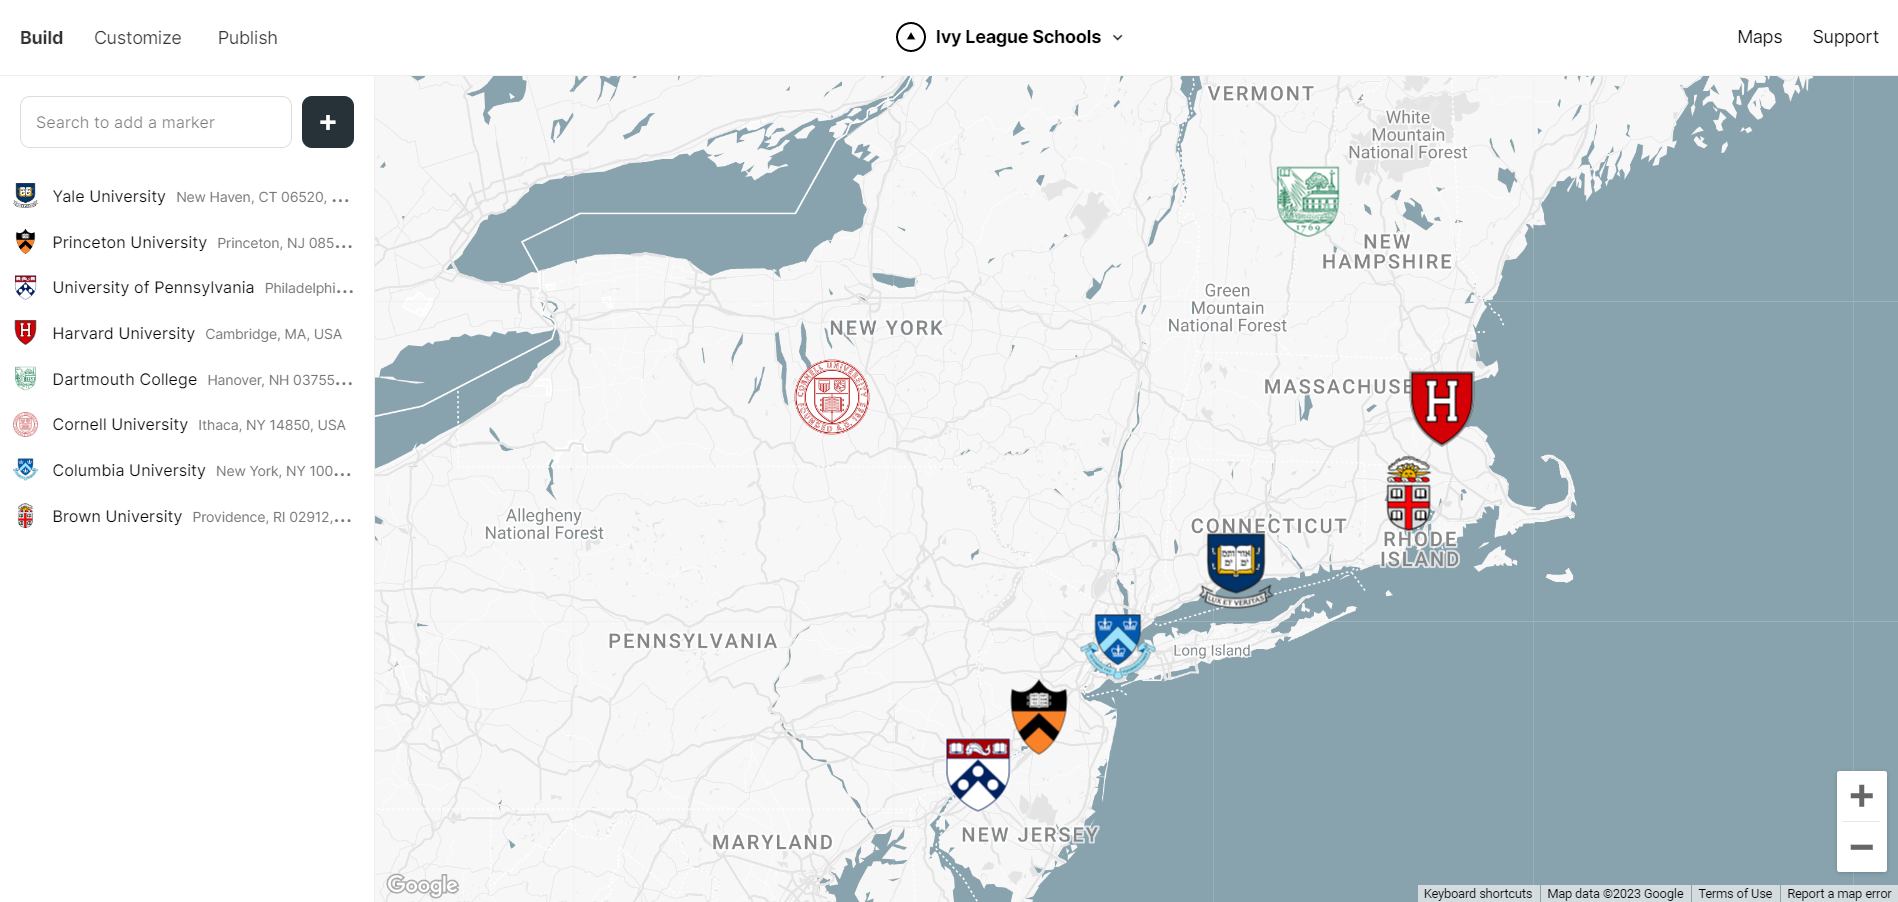
Multiple Pin Location Map
For more than one pins, continue adding each address one by one or if you happen to have a CSV list that includes multiple locations, you can simplify the map building process and upload the document directly. Acceptable CSV formats include Excel, Google Docs and more.
Step #5: Edit Content
If you need to make any changes to your plotted pins along the way, you can always click on the pin and see to the right of the tack a “content” category. Here, you have the option to edit inside the text box and make changes to any name or address information. You can also add high-quality images and make notes about the marker itself.
.png)
Step #6: Edit Style
Next to content, you’ll also see a “style” category. This is where you can access basic design fun within your detailed map. You can change the drop pin style, use different colors for the map tacks or its’ border. You can also upload custom markers and icons if for any reason you can’t find what you are looking for in Google Maps.
.png)
The Customize Tab is where you can really dive in and explore thousands of design options in Atlist. This is where the software sets itself apart from other map creators such as Google My Maps. Users can create maps that match their exact vision using different themes, visibility options, interactive elements and font choices. Each custom change keeps the functionality of each map first and foremost.
.png)
Step #7: Publish
When your map looks good to go, click the "Publish" button. This gives you the final data of the map you designed. You'll find the embed code to add it to any websites, a link for sharing the map and the option to save the map as an image.
.png)
There are endless ways that Atlist can transform a Google Map into a fine work of art. Easy to use design features and custom opportunities await, have fun creating!
.png)
.png)